How To Use A Soil Moisture Meter
Poking your finger in the soil isn’t an accurate way to check the moisture level.
You probably already know that, which is why you’ve bought or you’re considering getting a soil moisture meter for a more reliable reading.
But you might not be familiar with how to use the gadget, and that’s where we come in.
This quick guide will show you how to use a soil moisture meter correctly.
By the end of this article, you shouldn’t have any reason to worry about over or under-watering your lawn.
Let’s get started.
What is a Soil Moisture Meter?
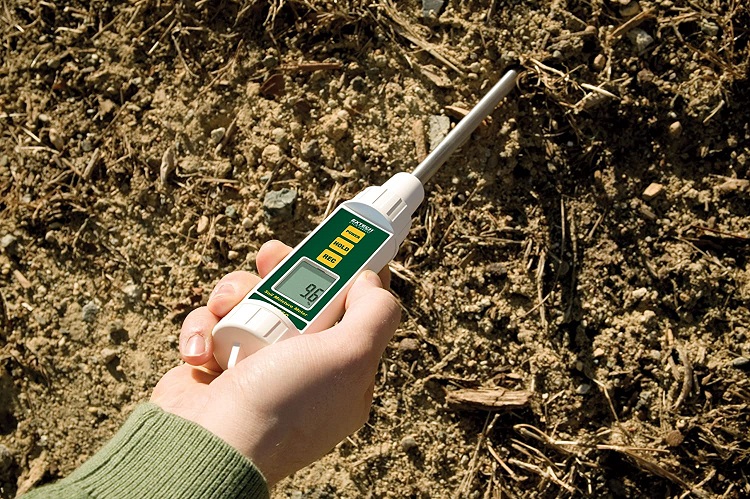
For those who don’t know, here’s a quick lowdown on soil moisture meters.
These small gadgets are hygrometers. That’s a fancy name for a tool that measures humidity or moisture level.
In this case, the gadget helps you determine how moist the soil is. This lets you easily know whether or not to water your turfgrass.
Regardless of whether a soil moisture meter is plain or fanciful, it is typically easy to use and will give you a reading within a minute or so when you insert it into the earth.
Why Should You Use a Soil Moisture Meter

Just in case you’re still on the fence about soil moisture meters, here are a handful of reasons you should always use one.
For starters, a soil moisture meter is the most accurate way to determine the moisture level in the soil.
It eliminates guesswork so you won’t inadvertently kill your lawn grass by overwatering or watering it too little.
Using the gadget is one of the keys to having a successful and green lawn. That’s because you won’t have to rely on a watering schedule.
Instead, the meter allows you to water your lawn according to its actual water needs.
The gadget takes into account several factors, such as light, temperature, and humidity when giving a reading.
Another important reason to consider using this handy tool is that it helps you use water more efficiently.
The average residential lawn in the United States is about a quarter of an acre or 10,871 square feet. However, this can vary greatly depending on location.
But that’s beside the point. The point is it takes 0.623 gallons of water (that’s a little over half a gallon) per square foot to provide one inch of water for your lawn.
In other words, you need 62 gallons (235 liters) of water for every 10ft x 10ft area
Now, that’s a lot of water! And you shouldn’t be wasting it on your home’s landscaping if it really doesn’t need it, don’t you think?
Bottom line: A soil moisture meter is a sure-fire way to know when to water your lawn.
How to Use a Soil Moisture Meter for Your Yard
Before you ever turn on the sprinkler, first get a soil moisture meter and follow these steps.
#1 Choose a Few Different Spots
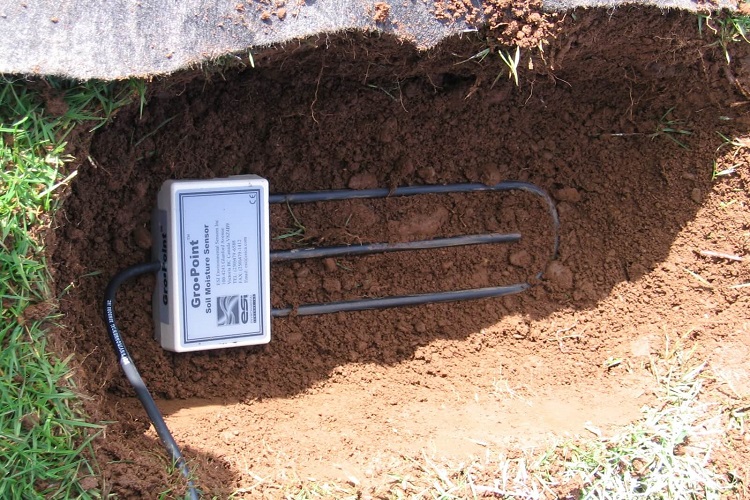
Checking the moisture level in your lawn is a bit different from using the gadget in a potted plant.
Unlike potted plants where you simply insert the meter in one spot, you can’t rely on the reading from one spot on your lawn.
You will have to pick a few different spots on your lawn to get an overall idea of the moisture level.
#2 Insert the Meter into the Soil
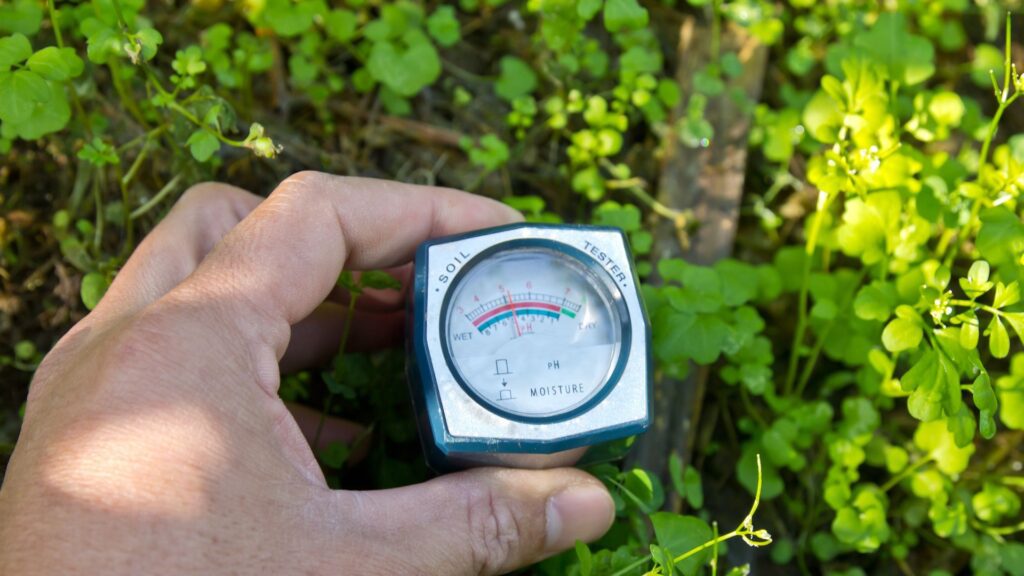
Soil meters may have different designs, but they all have one thing in common: a probe.
This feature goes into the soil to take the current moisture level.
Here’s what to do once you have visually identified the areas in your yard where you want to check:
- Hold the probe vertically.
- Gently but steadily push the moisture meter into the soil.
- Insert the probe down to about 6 to 8 inches deep in the different areas. This will give you the most accurate readings.
- Repeat the procedure in the different spots on your lawn.
When you push the handy tool into the soil, make sure you don’t force it. Try another spot if you meet resistance.
This ensures you don’t accidentally break the soil moisture meter.
#3 Check the Reading
Next, wait for the amount of time specified for your meter to get a reliable reading. With most meters, the waiting time is about 60 seconds.
When the appropriate time has passed, look at the display on the meter to get the reading.
Depending on your soil moisture meter, the display can show complex information or something very simple.
No matter the type of meter you have, the display will show three important readings:
- Dry
- Moist
- Wet
Note down the reading on the meter for the different spots on your lawn. This will allow you to determine two crucial details:
- First, you will have a fair idea of how much water your turfgrass is currently getting.
- Secondly, you’ll know whether to turn on the sprinklers or hold off for a few more days.
By the way, should you water your lawn at peat heat?
If you are not too sure about watering your lawn during the hot or warmer months, you might want to read our in-depth guide on the Best Time To Water Lawn In Hot Weather.
Now, let’s finish the rest of the steps for how to use a soil moisture meter.
#4 Remove the Meter from the Soil
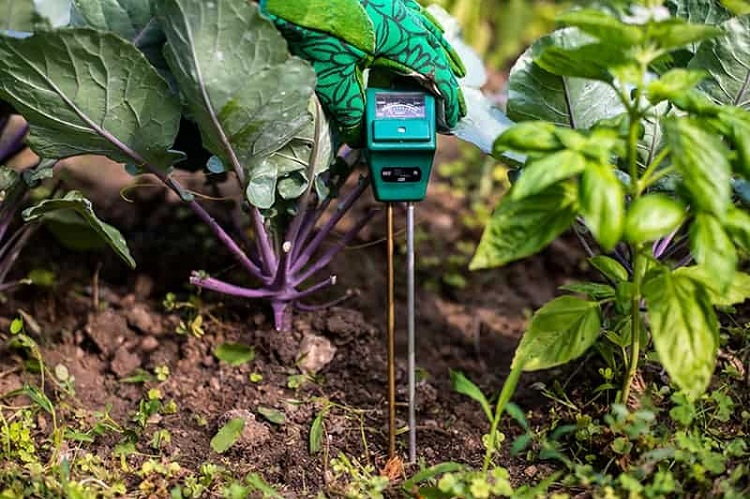
Don’t just leave the meter in the soil after taking the reading. Remove it.
You risk damaging the meter’s sensor if you ignore this step and leave the soil moisture meter in the soil.
A damaged sensor can result in inaccurate readings or malfunction. In some cases, the gadget won’t even function at all.
As soon as you finish taking the readings, remove the meter from the soil and thoroughly wipe the sensor clean.
Lastly, store the handy tool in a safe place until you are ready to use it again.
Not cleaning the probe properly before storing it is just like leaving it in the soil. It won’t be long before it starts to show signs of degradation.
#5 Water Your Yard Accordingly
Finally, the readings on the different spots on your landscaping will tell you if it is time to turn on the sprinkler.
Keep in mind that the water requirement for your lawn will depend on the turfgrass species you have.
Be sure to understand the difference between warm-season and cool-season grasses. These will determine whether they are low-water or high-water grasses.
Also, the water needs of your lawn will depend on whether you have tall grasses or short ones.
Here is a summary of the approximate water requirement of some popular lawn types:
- Kentucky bluegrass – 1.2 inches of water per week (for green turf) or 0.7 inches of water per week (for dormant turf).
- Bermuda or zoysia – 0.5 inches of water per week (for green turf) or 0.2 inches of water per week (for dormant turf).
- Buffalograss – 0.3 inches of water per week (for green turf) or 0.2 inches of water per week (for dormant turf).
- Perennial ryegrass – 1.5 inches of water per week (for green turf) or 1.0 inches of water per week (for dormant turf).
- Tall fescue – 0.8 inches of water per week (for green turf) or 0.5 inches of water per week (for dormant turf).
Note that the water requirement for green turf will keep the lawn green and growing. On the other hand, using the lower water volume will keep the lawn alive, but it may turn brown.
Quick Tips for Troubleshooting a Soil Moisture Meter
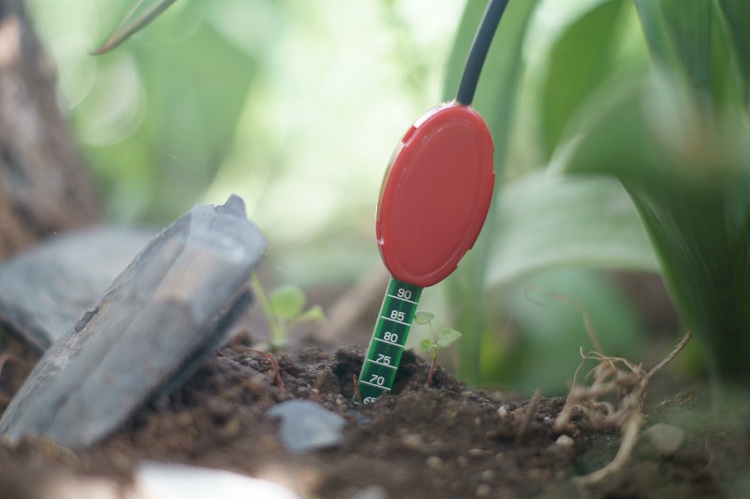
Even the fanciest soil moisture meters are pretty straightforward gadgets and easy to understand.
But you can’t rule out a few problems. Here are some tips to help you fix the likely issues you may encounter with your soil moisture meter.
If the needle doesn’t move when you insert the probe in the soil, don’t dip the probe in water to see if the meter is working.
The tool is designed to work in soil only and not water. Instead, remove the probe and wipe it clean.
Next, saturate some soil with water and insert the probe. It might be faulty if the needle still doesn’t move. If the needle is bouncing all around the display, try inserting the probe in another spot.
There might be a rock or metal under the soil that’s touching the probe and not allowing the needle to settle.
Conclusion
Regardless of whether your yard is covered with St. Augustine grass or Kentucky bluegrass, a hygrometer is a must-have if you want a lush, green lawn.
You’ve seen why and how to use a soil moisture meter, it’s now up to you to choose a basic model or a multifunctional gadget.
No matter which you pick, both options work just fine. Before you turn on the sprinklers, make sure to take the guesswork out of watering!
Don’t know how to set up a sprinkler? No worries. Check out our detailed guide on Sprinkler System Setup.
Resources:
