Sprinkler System Setup – The Basics
No matter how much time and effort you put into fertilizing, mowing, and getting rid of weeds and pests from your lawn, your grass won’t survive without water!
That’s another way of saying proper watering is one of the most important factors for a lush, green lawn.
How difficult is it to set up your Sprinkler System? Setting up your sprinkler is generally easy. But depending on the size of your lawn, it can take several hours to complete the installation. Working with a trenching tool can be a bit tasking. Thankfully, the parts of the sprinkler system are typically lightweight.
Learning the basics of sprinkler system setup can help you achieve efficient watering. This guide will show you how to go about installing a sprinkler system.
Although you don’t need to be an expert to do get the job done, you need a fair understanding of design, physics, and water dynamics.
Let’s get started.
How to Set Up Your Sprinkler System
Here are the basic steps for a sprinkler system setup.
Step 1: Learn about your water supply
Start by collecting basic information about your water supply.
These include:
- Size of the water service line
- Water pressure (psi)
- Water flow rate (GPM)
- Size of the well pump or water meter
You can ask your local water authority to send you some of these details.
Pro tip: Make sure to get the information about your water supply before buying any sprinkler component. This will ensure you don’t buy things you don’t need.
You can also measure the water pressure in your home using a water gauge. This will allow you to determine the outdoor water pressure.
To do this:
- Turn off all indoor water outlets.
- Attach the water gauge to the outdoor tap.
- Turn on the tap and set it to full blast.
- Read the water gauge to see the water output measurement.
Next, it is important to figure out the gallons per minute (GPM) in your outdoor spigot.
To do this:
- Put a 1-gallon bucket or container under your outdoor tap.
- Turn on the tap and set it to full blast.
- Note the time it takes (in seconds) to fill the bucket.
- Divide the number of seconds by 60 to get the GPM.
Step 2: Draw the irrigation map for your lawn
You don’t have to be an expert to create an irrigation map for your lawn. All you need is a basic understanding of how to take measurements and draw to scale.
For this step, you will need:
- A graph paper
- Tape measure
- A pencil
With these ready, here’s what you need to do:
- Measure the length and width of your lawn.
- Using the measurement, draw your property to scale (for example, use 1 inch to represent 10 feet).
- Make sure to mark all the landscapes and barriers on your map. These should include any shrubs, trees, flower beds, driveways, walkways, outdoor sheds, and your house.
- Mark the spots where you plan to install the valve, pipes, and sprinkler heads on your irrigation map. Remember to allow adequate spacing between these to provide better coverage.
Step 3: Determine the number of zones your lawn should have
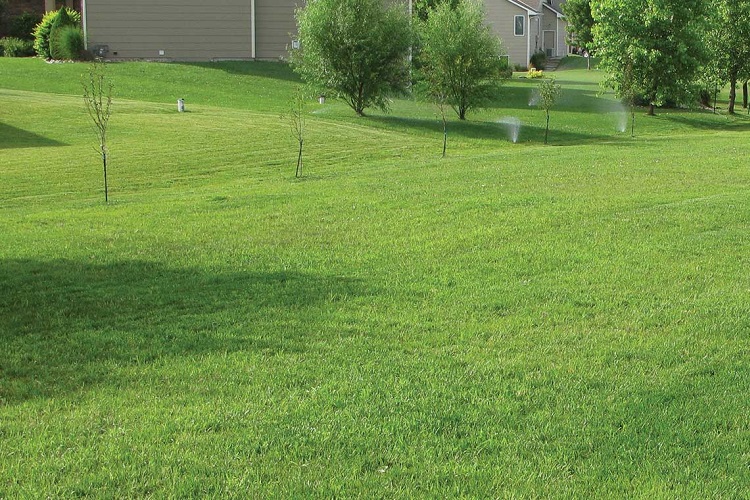
Next, break up your lawn into hydro zones. It is crucial to figure out the correct number of zones on your property so you won’t overwater or underwater your lawn.
The number of zones on your lawn will depend on a few different variables, such as the size and shape of the total area.
You can have small or large hydro zones, depending on how elaborate your sprinkler system is.
But size and shape aren’t the only consideration when it comes to determining the number of zones for a perfect sprinkler system setup. Here are a few more:
Exposure to sunlight
Areas of your lawn or property with lots of sunlight exposure throughout the day will need more water than areas with plenty of shades.
Soil type
Water drains right through sandy soil, while clay soil holds its shape even when wet. Loam is an excellent soil for lawns as it breaks apart when wet while retaining a good amount of water.
The type of sprinkler heads and rotors you should get depends on the type of soil underneath your lawn. This will allow the grass to get the right quantity of water to flourish.
Type of grass or plants
Understanding your grass type and its water needs is crucial to providing the right amount of water.
Most lawns will need about 1-inch to 1.5-inches of water every week. If you have drought-tolerant grasses, they might not require that much water even during dry summer.
If there are other plants alongside your lawn, make sure to factor in their water needs. To make things easier, it is usually best to group plants in the same zone based on their water needs.
Step 4: Gather your supplies and choose the right sprinkler heads
Once you’ve figured out the type of soil you have and the water needs of your grass, it is time to order the components and pick the most appropriate sprinkler heads for your lawn.
The specific parts of a sprinkler system may vary slightly depending on the manufacturers. But they all consist of the following:
- Sprinkler heads
- Control valves
- PVC pipes
- Risers
- Automatic timer
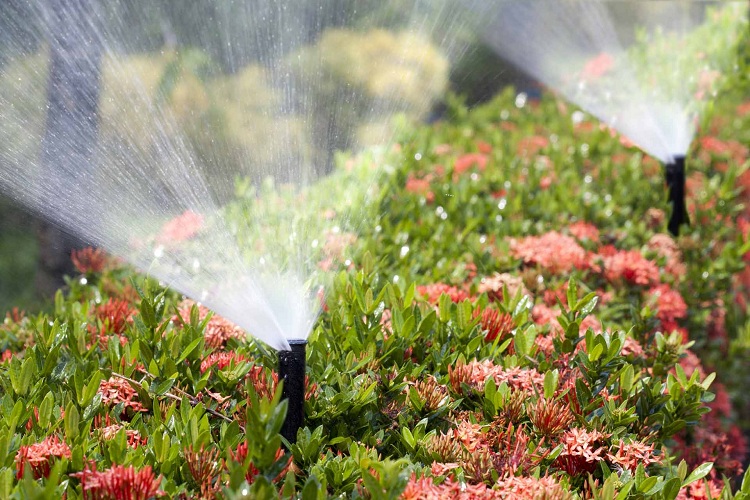
Consider the watering needs of your lawn and your hydro zones when choosing the sprinkler heads. Here are the different heads available:
- Fixed sprays: Choose fixed spray heads if you need water delivered to the same area consistently. These types of spray heads usually cover about 6 to 18 feet radius. If you use fixed sprays, make sure the next head starts where the previous one ends to provide adequate water coverage to the entire area.
- Rotors: Pick rotors based on the radius you need to cover. Make sure to choose the same size rotors for each hydro zone to help provide water evenly across the zone.
- Rotary nozzle spray heads: These types of spray heads feature rotating stream technology and typically cover about 13 to 30 feet radius. Choose this if you want uniform water delivery at the same precipitation rate.
- Bubbler sprinkler heads: You might want to opt for bubbler sprinkler heads and other specialty patterns to deliver water to lawn end strips or side of the lawn. They are also great for watering areas with shrubs or trees.
- Drip irrigation: Consider choosing drip irrigation sprinklers for landscape beds and ground covers. They are also a great choice if you have other plants alongside your lawn. That’s because the small emitters are designed to deliver water directly to the roots of your plants.
Speaking of drip irrigation, the next section will quickly highlight the benefits and downsides of using this type of system.
Pro tip: Not all sprinkler systems are compatible with each other, so it is best to buy parts from one sprinkler brand instead of mixing brands.
Step 5: Guide your installation using strings and flags or stakes
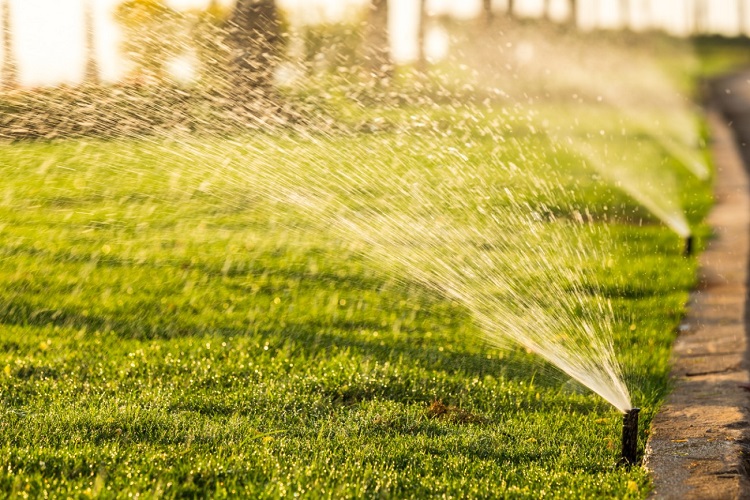
The next step in your sprinkler system setup involves placing flags or stakes in your yard where the sprinklers will go.
To do this:
- Follow the irrigation map you drew earlier to locate the right spots for each sprinkler.
- Next, place the stakes or flags in the spots.
- Use strings to connect the stakes.
The string connection is where you will lay the pipes.
Step 6: Dig the trenches
Now for some backbreaking work! You need to dig trenches to lay your PVC pipes.
To do this:
- Grab any hand trenching tool you have (drainage spade, trenching hoe, bottom digger, or any other type of trenching shovel).
- Follow the string connecting the stakes to dig a trench.
- Make sure the trench is about 4 inches wide and 8 to 10 inches deep.
Pro tip: Make sure to get all the necessary permits before digging trenches. When digging, you want to be mindful of underground structures and utilities such as electrical, sewer, and gas lines.
Step 7: Lay and connect the pipes
Next, it’s time to lay the PVC pipes and complete the connections.
Here’s what to do:
- Lay the pipes in the trench you just dug.
- Connect the ends of the pipes using a primer and adhesive.
- Use a tee connection for each spot on the pipe where the sprinkler head will go.
Step 8: Connect to your water source
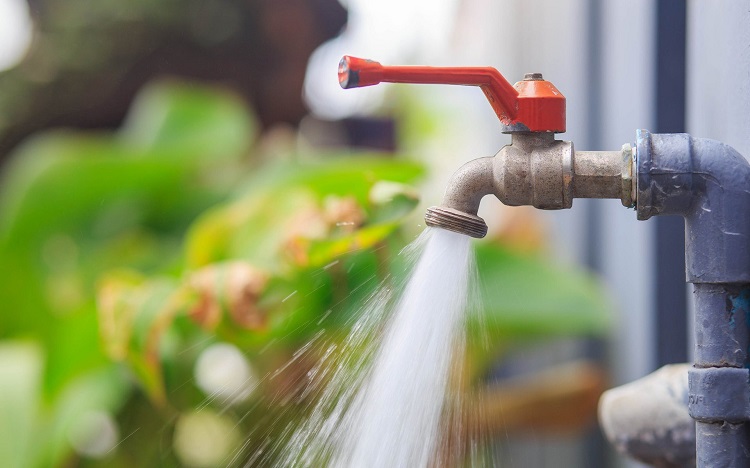
After laying and assembling the pipes, go ahead and connect the pipe network to your main water source.
You have two options:
- Connect directly to the service line
- Connect to an existing faucet using your control valve
It is usually best to hire a plumber if you choose to go with the first option.
Step 9: Install the risers and flush out the system
Next, attach one rise to each tee connection on your pipe. Hold off with the sprinkler head installation first until you flush the system.
You likely have some dirt in the pipes while laying them down, so you need to flush it out. Simply turn on the main water supply and allow all the debris to flow out.
When you are satisfied, go to the next step.
Step 10: Install the sprinkler head
Place your preferred sprinkler head on each riser, making sure to attach it properly and facing the right direction.
Step 11: Install the automatic timer
Next, wire your automatic timer to the control valve. Make sure to use a waterproof pipe for this.
You can program the timer to water the various hydro zones of your lawn at different times of the day.
Step 12: Test the sprinkler system and bury the pipes
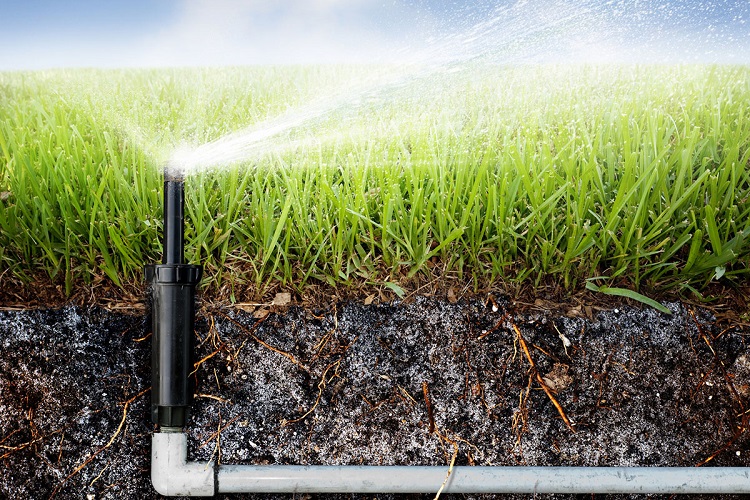
The final step in the sprinkler system setup is to bury the pipes. But before you do so, first, test the system.
Make sure there are no leaks, the water is flowing properly, and the sprinkler heads are functioning as expected. Once everything checks out, go ahead and cover the pipes.
You have successfully set up your new sprinkler system.
Setting Up Drip Irrigation vs. Pop Up Sprinklers
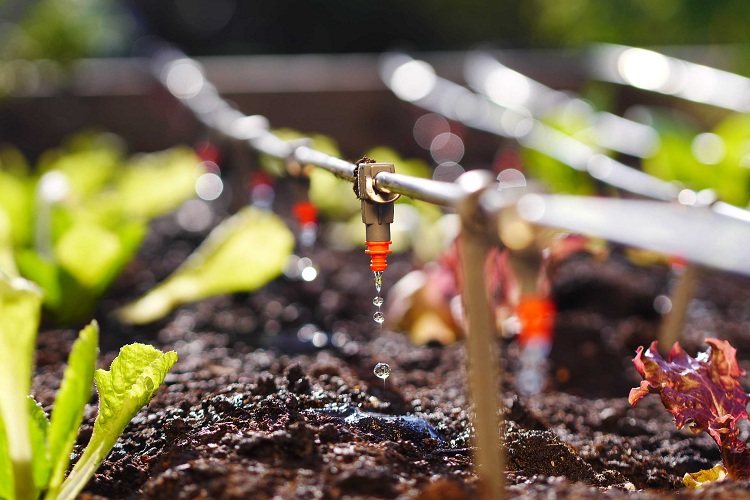
Drip irrigation systems are great for watering small areas. They deliver precise watering to the soil around the roots of plants.
Drip irrigation systems are generally easy to install but the emitters can get clogged very easily. This means you need to check them regularly to make sure they are working as expected.
Here’s another downside of installing a drip irrigation system for your lawn or large areas. It requires extremely long sections of the drip line.
Also, the lines will limit the use of lawnmowers and will likely cause tripping hazards. That’s because drip lines are designed to be on top of the ground instead of under the ground.
On the other hand, pop up sprinkler systems are ideal for watering grass areas. They offer the added benefits of eliminating wastage by delivering water efficiently.
Similar to traditional sprinklers, the pipework of pop up sprinklers is buried under the ground, so your lawn will maintain its aesthetics.
They only rise from the ground upon activation and retract when you turn off the system.
Are Smart Sprinkler Controllers Worth It?
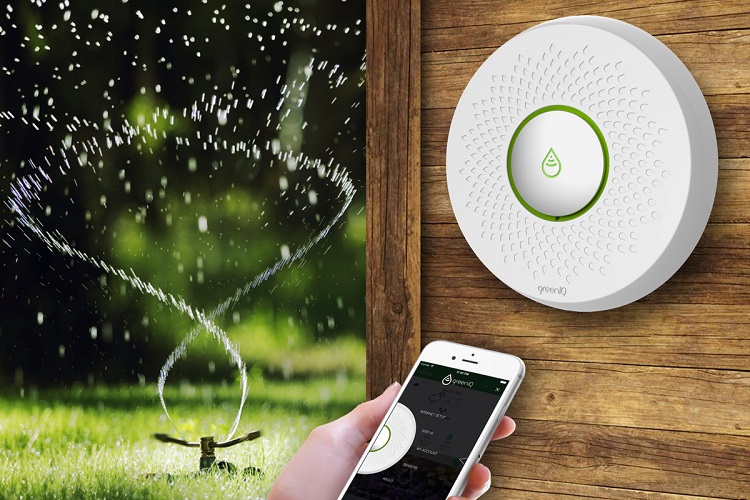
Homeowners also have the option of installing smart sprinkler controllers.
However, this is quite expensive, and adding it to your irrigation may not be worth it if rain sensors or zoned irrigation aren’t important to you.
In other words, you need to consider what you want from your irrigation system before shelling out to get a robot for your sprinkler system.
If you have a small lawn, a smart controller won’t be a smart choice.
Also, be aware that some smart sprinkler controllers feature additional services such as providing weather information.
These services typically attract additional monthly or yearly fees that can add up over time.
Thankfully, some systems don’t feature these services and would be a better choice if you really don’t need the extra services.
Resources:
